User Guide
Software installation
All users are granted with sudo privileges to use the operating system package manager
(i.e. apt-get in Ubuntu, and yum/dnf in Centos7/8) to install packages via the official
repositories.
Conda
Basic conda installation
Conda is a package manager that help you find and install software packages without having administrator privileges.
Below are the steps to get a basic conda installation. Open a terminal on your virtual machine and run the following commands.
:warning: During the installation process select a working directory in your scratch disk (usually select: /mnt/scratch/miniconda3). By default, the installer will recommend to use your home, but the space there is limited.
# Download installer
curl -O https://repo.anaconda.com/miniconda/Miniconda3-latest-Linux-x86_64.sh

# Install conda in the "conda-install" folder
bash ./Miniconda3-latest-Linux-x86_64.sh

# Once the installation is finished:
rm ./Miniconda3-latest-Linux-x86_64.sh
To have conda available, just close the terminal and open a new one.
We recommend installing mamba in your base environment, since mamba is a very efficient dependency solver. When you have it installed, you can start the installation commands with mamba install... instead of conda install.... You can install it in the base environment with:
conda install mamba -n base -c conda-forge
Example: Create a basic environment with the latest Python 3
conda create -n py3env python=3

# Activate the "py3env":
conda activate py3env

# check it with
which python
python --version

# "pip" is also available:
which pip

# To leave the environment, type:
conda deactivate
Conda environments are great for managing the dependencies on your projects and it helps you improve the reproducibility of your code. For more information about conda, please visit: Getting started with Conda or the Open Science Droplets.
Example: Install JupyterLab with Conda
Here we describe the steps to install JupyterLab into its own conda environment:
# Then create a conda environment for JupyterLab:
conda create -n jupyterlab -c conda-forge jupyterlab -y
conda activate jupyterlab

# Start jupyter:
jupyter lab
JupyterLab will print out the URL to connect to your session.
Singularity hub
Containers are unit software packages that contain all the software, files, libraries, dependencies and environmental variables necessary to run a particular task or workflow. Containers are encapsulated software environments and abstract the software and applications from the underlying operating system. This allows users to run workflows in customized environments, switch between environments, and to share these environments with colleagues and research teams.
Images are the files used to generate containers. Container images become containers at runtime. Containers are then identical copies instantiated from images.
Container images can be found at /mnt/software/containers/ and are maintained by the support team.
Singularity is a open-source sotfware that performs containerization.
Singularity shell
Users can open a Singularity container as an interactive shell and issue command line tasks within the environment that the container provides.
Here we will see an example of how to call the Singualrity container using the shell command to work with CASA:
spsrc@spi-kat-project-007:~$ singularity shell /mnt/software/containers/casa_stable_5.7.2-4.sif

spsrc@casa_stable_5.7.2-4.sif:~$ casa --nogui

=========================================
The start-up time of CASA may vary
depending on whether the shared libraries
are cached or not.
=========================================

IPython 5.1.0 -- An enhanced Interactive Python.

CASA 5.7.2-4   -- Common Astronomy Software Applications

Creating a new telemetry file
Telemetry initialized. Telemetry will send anonymized usage statistics to NRAO.
You can disable telemetry by adding the following line to your ~/.casarc file:
EnableTelemetry: False
--> CrashReporter initialized.
Enter doc('start') for help getting started with CASA...
Using matplotlib backend: TkAgg

CASA <1>:
You are ready to use CASA interactively!
Singularity exec
A user is able to execute a script or command within the container environment using the singularity exec command.
Here we will see an example with common linux commands but you can use any script or software available in the Singularity Image instead.
$ singularity exec /mnt/software/containers/casa_stable_5.7.2-4.sif date
Fri May  7 16:23:10 UTC
$ singularity exec /mnt/software/containers/casa_stable_5.7.2-4.sif echo hello
hello
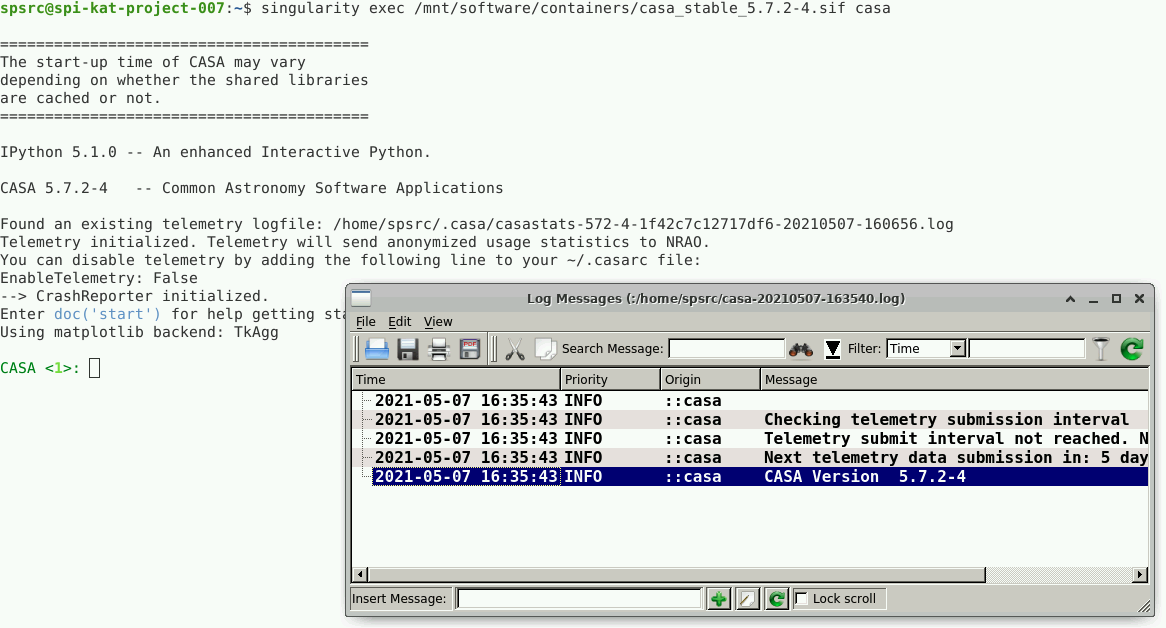
This is an example of how to execute CASA:
singularity exec /mnt/software/containers/casa_stable_5.7.2-4.sif casa
Additional parameters
The following parameters can be use in each of the executions mentioned above.
To clean the environment before running the container:
--cleanenv
To specify a home directory inside the container. Use $PWD to select your current directory or specify any directory inside the container (it does not need to exist):
--home $PWD
To bind a local directory with a directory inside the container. In this example we will bind the directory localdata in the host to the directory containerdata in the container:
--bind localdata:containerdata
Examples of --bind option to access a local folder from inside the container
Add the parameter --bind
singularity shell --bind localfolder:containerfolder --cleanenv --home $PWD /mnt/software/containers/<image_name>
Example with shell interaction and sharing folders:
singularity shell --bind /home/user/data:/mycontainerfolder --cleanenv --home $PWD /mnt/software/containers/casa_1.7.0.sif
Now, inside the container, if you use the list command
ls -l /mycontainerfolder
you will see you files of your local storage folder in /home/user/data.
Now an example with execution mode and sharing folders:
singularity exec --bind /home/user/data:/mycontainerfolder --cleanenv --home $PWD /mnt/software/containers/casa_1.7.0.sif python /mycontainerfolder/myscript.py
You will execute python /mycontainerfolder/myscript.py that corresponds to the execution of the script located in your machine in /home/user/data/. Note that you are calling/running the script myscript.py from inside the container, so the paths are related to the container.
Build your own Singularity containers
If you want to build your own containers with Sigularity, please use your mass storage space (usually /mnt/scratch/) of your Virtual Machine. We recommend that you follow this instructions before building or pulling new containers.
Create the directories that will be used by Singularity to store transient files:
mkdir -p /mnt/scratch/user_containers/.singularity_cache
 mkdir -p /mnt/scratch/user_containers/.singularity_cache/tmp
 mkdir -p /mnt/scratch/user_containers/.singularity_cache/localcache
and then you must add the following environment variables to your .bashrc file. To do this type nano $HOME/.bashrc , move to the end of the file and add the following:
export SINGULARITY_CACHEDIR=/mnt/scratch/user_containers/.singularity_cache
 export SINGULARITY_TMPDIR=$SINGULARITY_CACHEDIR/tmp
 export SINGULARITY_LOCALCACHEDIR=$SINGULARITY_CACHEDIR/localcache
 export SINGULARITY_PULLFOLDER=/mnt/scratch/user_containers
Save the file, and run source $HOME/.bashrc.
If you don't have a Block Storage assigned (the path /mnt/scratch/ does not exist), contact the administrators.